> ## Documentation Index
> Fetch the complete documentation index at: https://lightdash-docs-many-to-many.mintlify.site/llms.txt
> Use this file to discover all available pages before exploring further.
# dbt Projects
> You can easily make changes in dbt and see them updated in your Lightdash project.
Lightdash supports dbt v1.4.0 and above. If you are using an older version of dbt, you will need to upgrade to sync your project to Lightdash
## Syncing your dbt project to Lightdash
You can sync your dbt project code with Lightdash in a few different ways. We recommend everyone set up continuous deployment, but you can also refresh in the Lightdash app or deploy from the CLI.
### 1. Set up continous deployment
[Read how to do that and check out our example workflow files](/guides/cli/how-to-use-lightdash-deploy#automatically-deploy-your-changes-to-lightdash-using-a-github-action).
### 2. Click "Refresh dbt" in Lightdash
The button can be found on the Query from tables page.
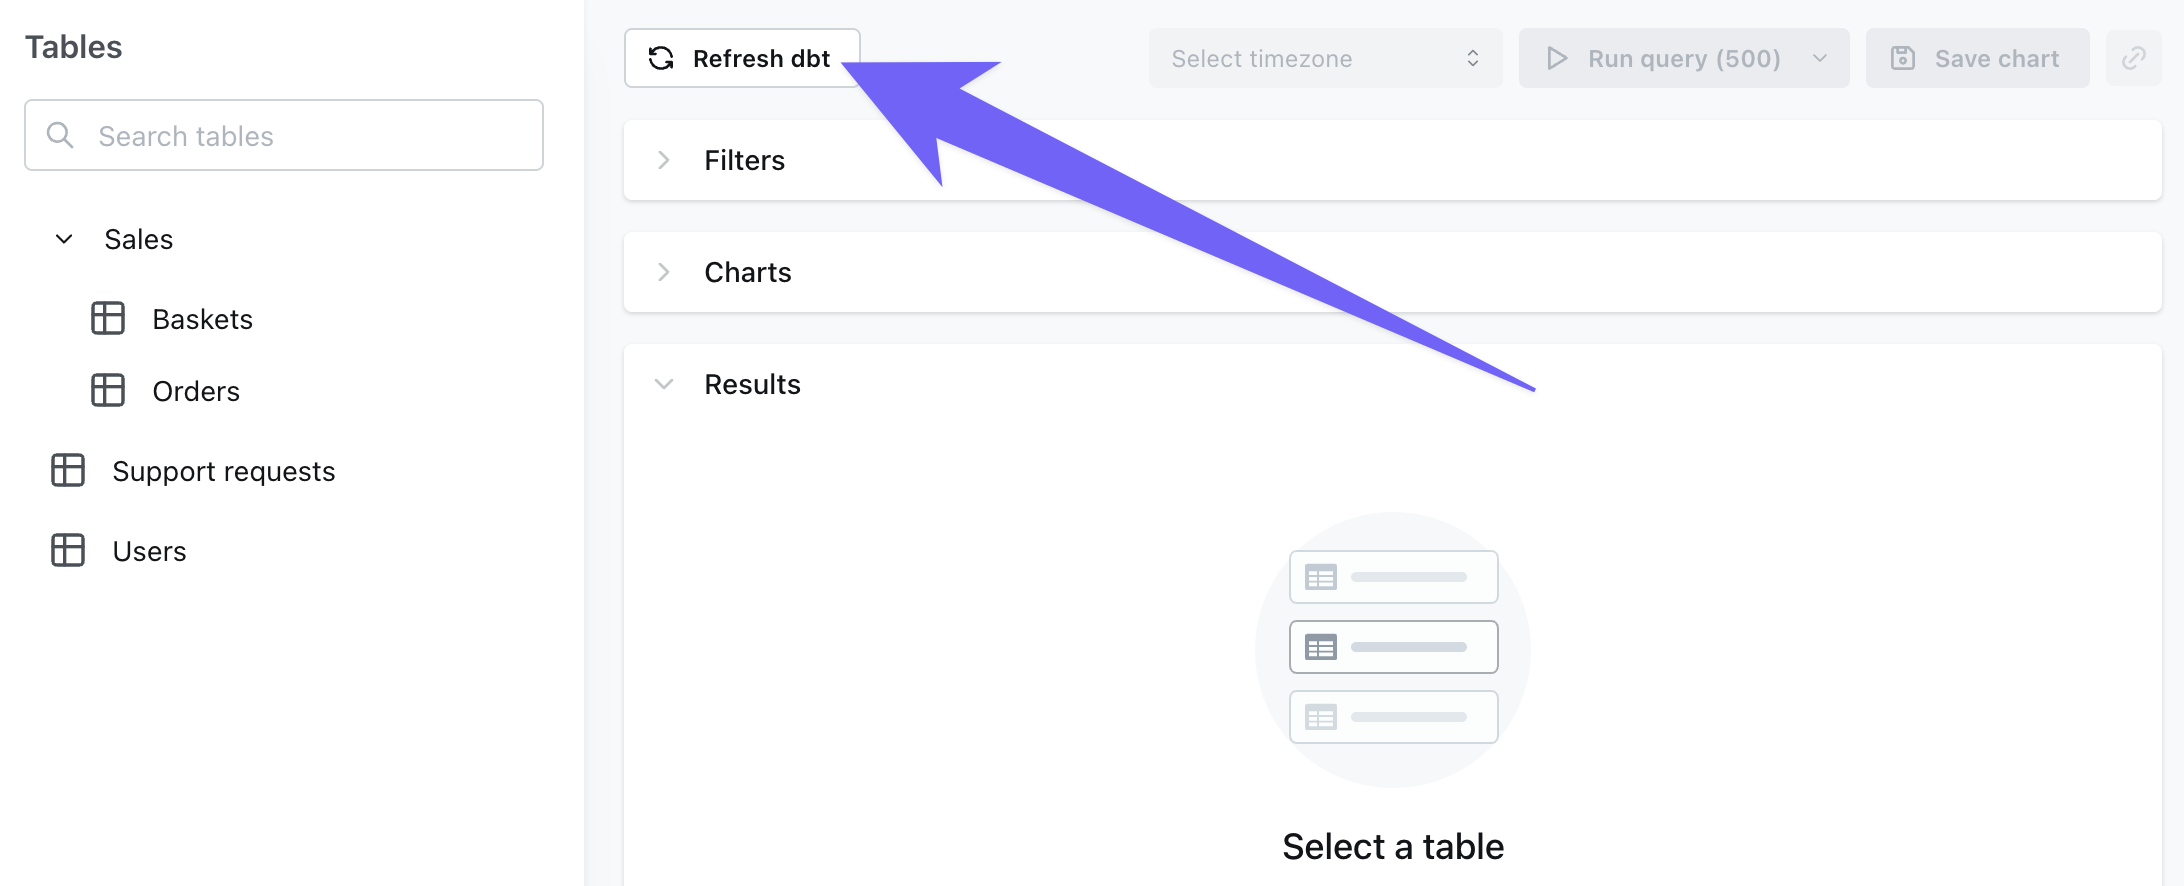
*If you're using a git connection (like GitHub, Gitlab or Bitbucket), you'll need to push + merge your changes to the branch that your Lightdash project is connected to before you press `Refresh dbt`.*
If you've made any changes to the underlying data (for example, adding a new column in your `model.sql` file or changing the SQL logic of a dimension), then you need to run: `dbt run -m yourmodel` before you click `Refresh dbt` in Lightdash.
### 3. Push code from the CLI
If you're using the [Lightdash CLI](/guides/cli/how-to-install-the-lightdash-cli), you can use `lightdash deploy` to deploy your changes to Lightdash. [Read more about how to use `lightdash deploy`](/guides/cli/how-to-use-lightdash-deploy).
We don't recommend using `lightdash deploy` from your local environment as the primary way you update Lightdash since small mistakes can lead to production issues.
## dbt project settings
For more information about dbt connection types (Github, Gitlab, Bitbucket, etc.) and the fields required for each type, [read the dbt project section in our connection guide](/get-started/setup-lightdash/connect-project#2-import-a-dbt-project).
Below are details about the univeral fields for all connected dbt projects.
### Target name
**Target** contains information about your dbt connection to your warehouse.
It's the dataset or schema in your data warehouse that Lightdash will look for your dbt models. By default, we set this to be the same value as you have as the default in your `profiles.yml` file when you run `lightdash deploy` (if that's how you created or recently deployed your project).
If you want to update this, you can enter the target of your choice in the project settings (for example `prod` or `analytics`.)
[Read more about dbt targets in the dbt docs.](https://docs.getdbt.com/reference/dbt-jinja-functions/target)
### dbt selector
You can filter out models in your dbt project that you don't want to see in Lightdash. This is useful if you have a large
dbt project and you want to speed up the sync process. Unlike [table selection](/guides/adding-tables-to-lightdash#limiting-the-tables-in-lightdash-using-dbt-tags), this selector is applied to the dbt models, so it will skip the entire compilation process for the models that you don't want to see in Lightdash.
To do this, you can add a **dbt selector** to your project settings. This is a JSON object that contains the models you want to include in Lightdash.
For example, if you only want to include the `my_model` and all models with the `lightdash` tag in Lightdash, you can add the following to your dbt project settings:
```console
my_model tag:lightdash
```
We support all dbt selectors. [Read more about selectors in the dbt docs](https://docs.getdbt.com/reference/node-selection/syntax#combining-state-and-result-selectors).
### Environment variables
If you've used [environment variables in your dbt `profiles.yml` file](https://docs.getdbt.com/reference/dbt-jinja-functions/env%5Fvar), you can add these to Lightdash here.
For each environment variable, you'll need to add the `key` + `value` pair for the item.
You'll normally find these values in a file called `.env` in your dbt project directory.
For example, I might have something like:
```yaml
profile:
target: prod
outputs:
prod:
type: postgres
host: 127.0.0.1
user: "{{ env_var('DBT_USER') }}"
....
```
Then a `.env` file like:
```yaml
export DBT_USER="myspecialuserkey123"
```
So, in Lightdash, I'd add a new environment variable and put `key` as `DBT_USER` and `value` as `myspecialuserkey123`.