

Create a new Slack app on your organization
First we will have to create a Slack APP https://api.slack.com/apps?new_app=1 You can selectFrom an app manifest to make it easier.
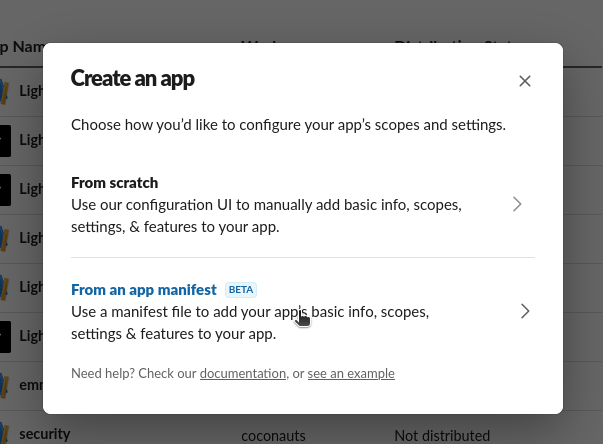
enable distribution if you want to use a different Slack workspace.
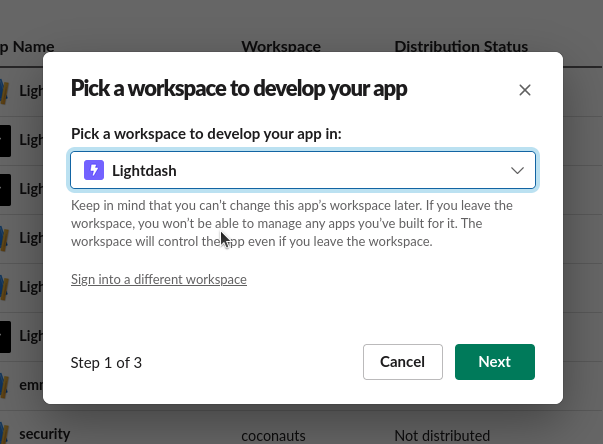
your-lightdash-deployment-url.com in the manifest below (for example, app.lightdash.cloud).
create
Copying credentials
Now copy the following credentials from your new app. FromBasic Information
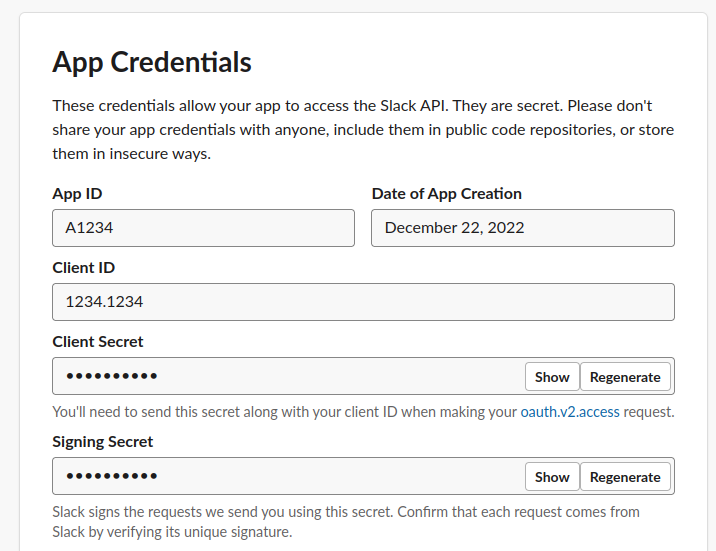
- Client ID
- Client secret (show and copy)
- Signing secret (show and copy)
Adding credentials to your local environment
Now you need to add the following environment variables to your Lightdash server using the credentials we previously copiedSLACK_CLIENT_ID: Client ID (make sure it is between quotes, so it is a string, not a number)SLACK_CLIENT_SECRET: Client secretSLACK_SIGNING_SECRET: Signing secretSLACK_STATE_SECRET: This can be any string